This article contains affiliate links. If you buy through them, we may earn a commission at no extra cost to you.
Smoky Eye Makeup Tutorial for Beginners: Achieve Drama with Ease
The smoky eye is one of the most iconic, timeless makeup looks in beauty history. Bold, seductive, and endlessly versatile — it suits virtually every eye shape, skin tone, and occasion. If you have always admired this stunning look but felt intimidated to try it yourself, this beginner-friendly tutorial is exactly what you need. With the right tools, the right products, and a little patience, you will be rocking a flawless smoky eye in no time.
What You Will Need: Tools & Products
Before you dive into the steps, gather everything you need. Having your tools ready makes the process smooth and stress-free.
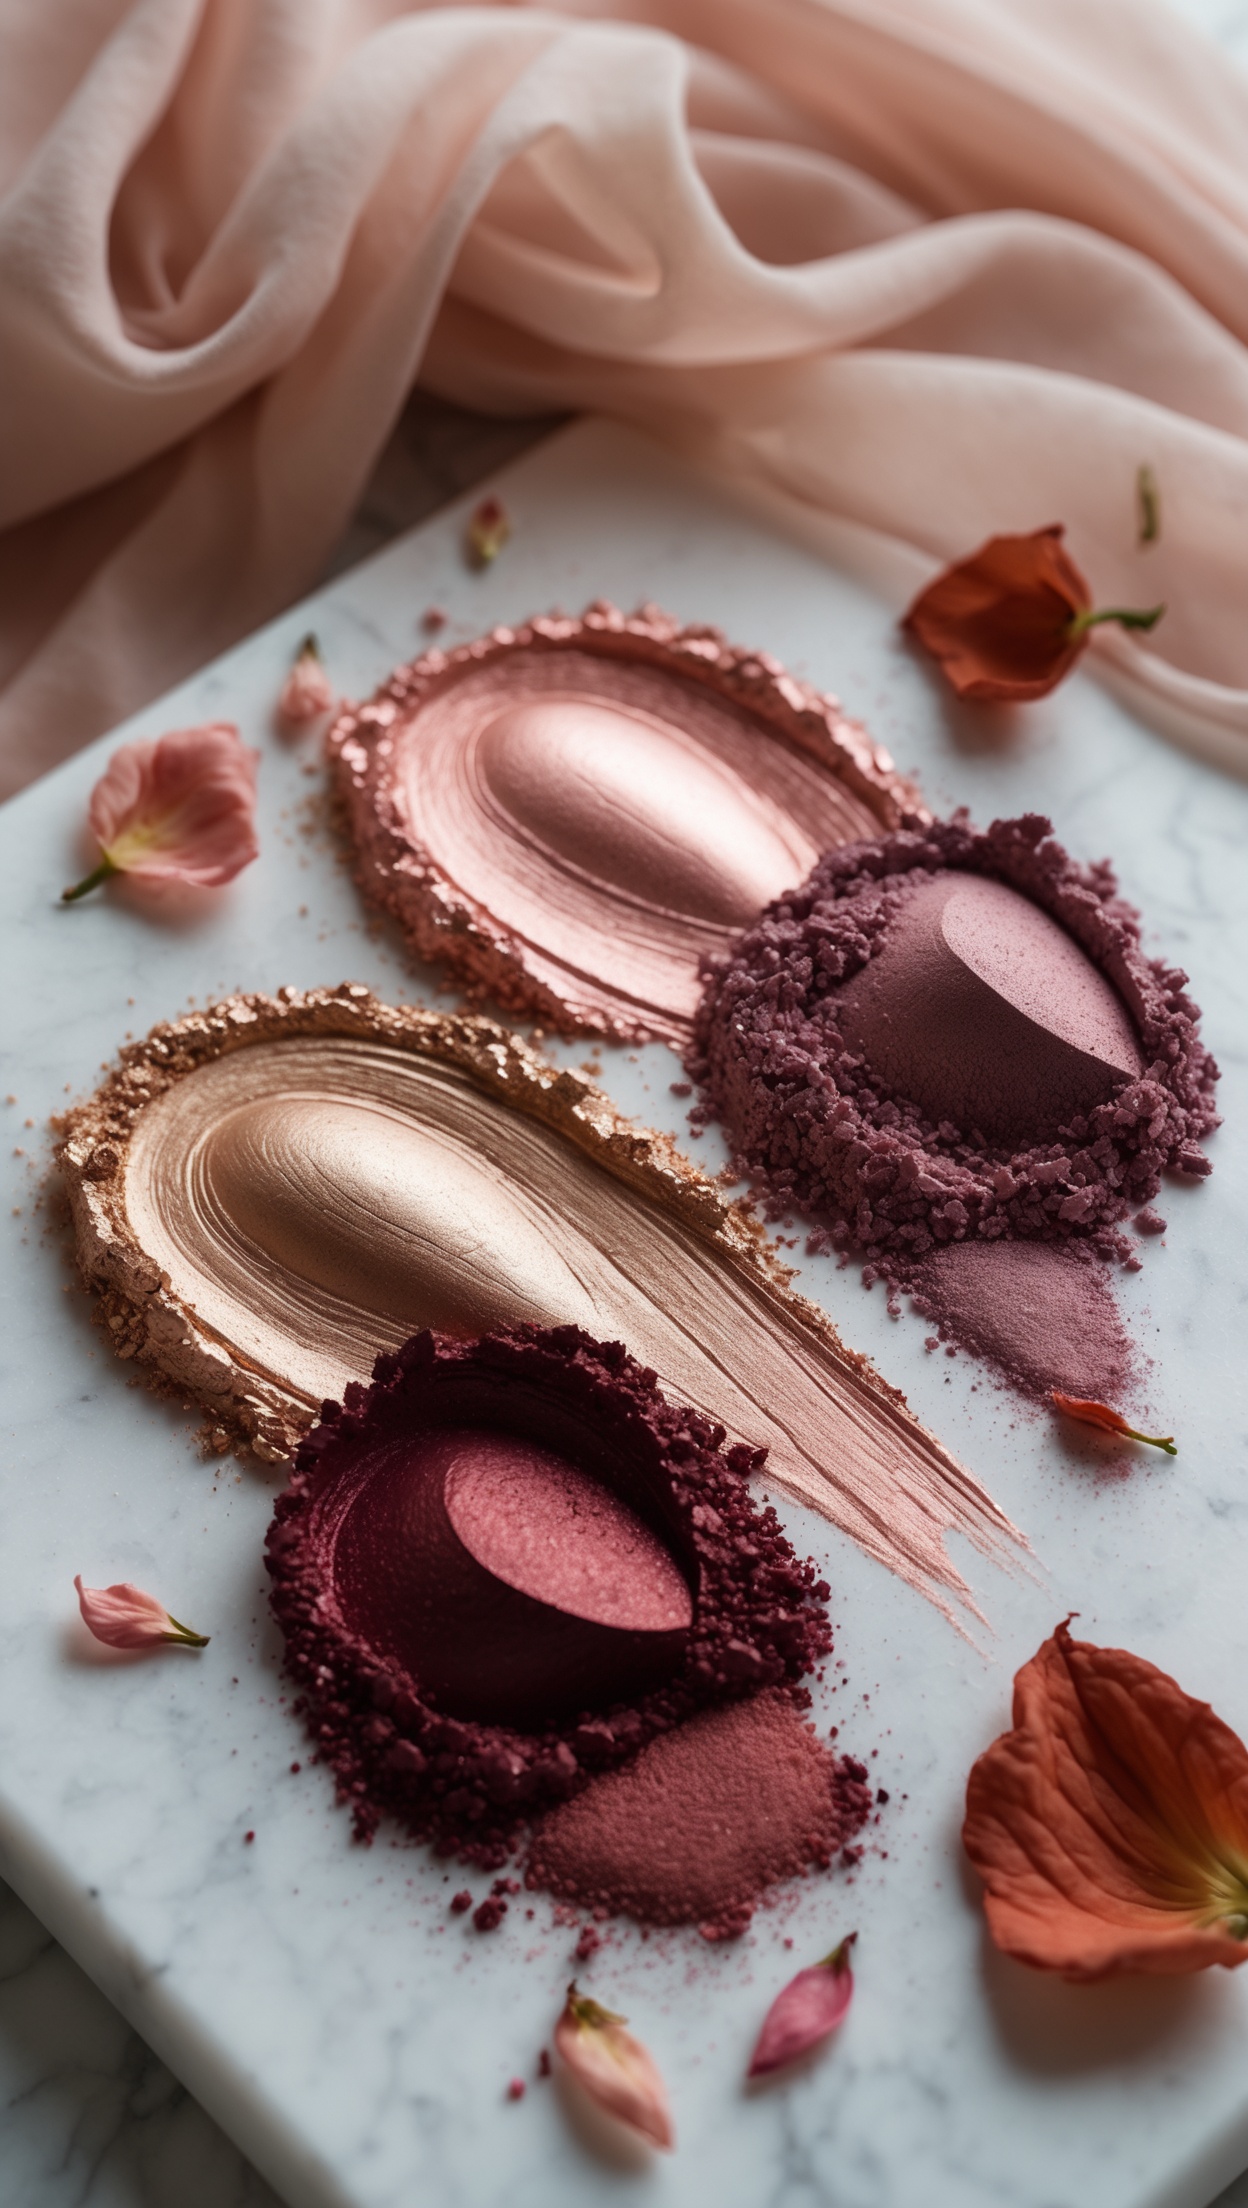
- Eyeshadow palette: Choose one with at least three shades — a light base, a medium mid-tone, and a deep shade for depth.
- Flat shader brush: For packing colour onto the lid.
- Fluffy blending brush: This is your best friend for creating that signature seamless blend.
- Pencil liner or kohl: Black or dark brown works beautifully for a classic smoky look.
- Mascara: To finish and frame the eye.
- Eyeshadow primer or concealer: Helps your colour stay vibrant all day long.
- Setting powder (optional): To catch any fallout under the eyes.
Step-by-Step Smoky Eye Tutorial
Step 1: Prep Your Eyes
Start with a clean, moisturised eye area. Apply a thin layer of eyeshadow primer or a dab of concealer across your entire lid, from lash line to brow bone. This creates a smooth base, intensifies colour payoff, and dramatically extends the wear of your look. Allow it to dry for about 30 seconds before moving on.
Pro tip: Dust a small amount of translucent setting powder under your eyes before starting. This catches any shadow fallout and makes cleanup effortless.
Step 2: Apply Your Base Shade
Using your flat shader brush, sweep a neutral or light matte shade across your entire lid, blending up towards the crease. This creates an even canvas and helps the darker shades blend more seamlessly. Think of this as the foundation of your smoky eye.
Step 3: Define the Crease
Pick up a medium, slightly deeper shade on your fluffy blending brush. Apply it directly into the crease of your eye, using windshield-wiper motions back and forth. This builds dimension and begins to create that signature depth. Don't worry if it looks patchy at first — blending is the key.
Step 4: Apply the Darkest Shade
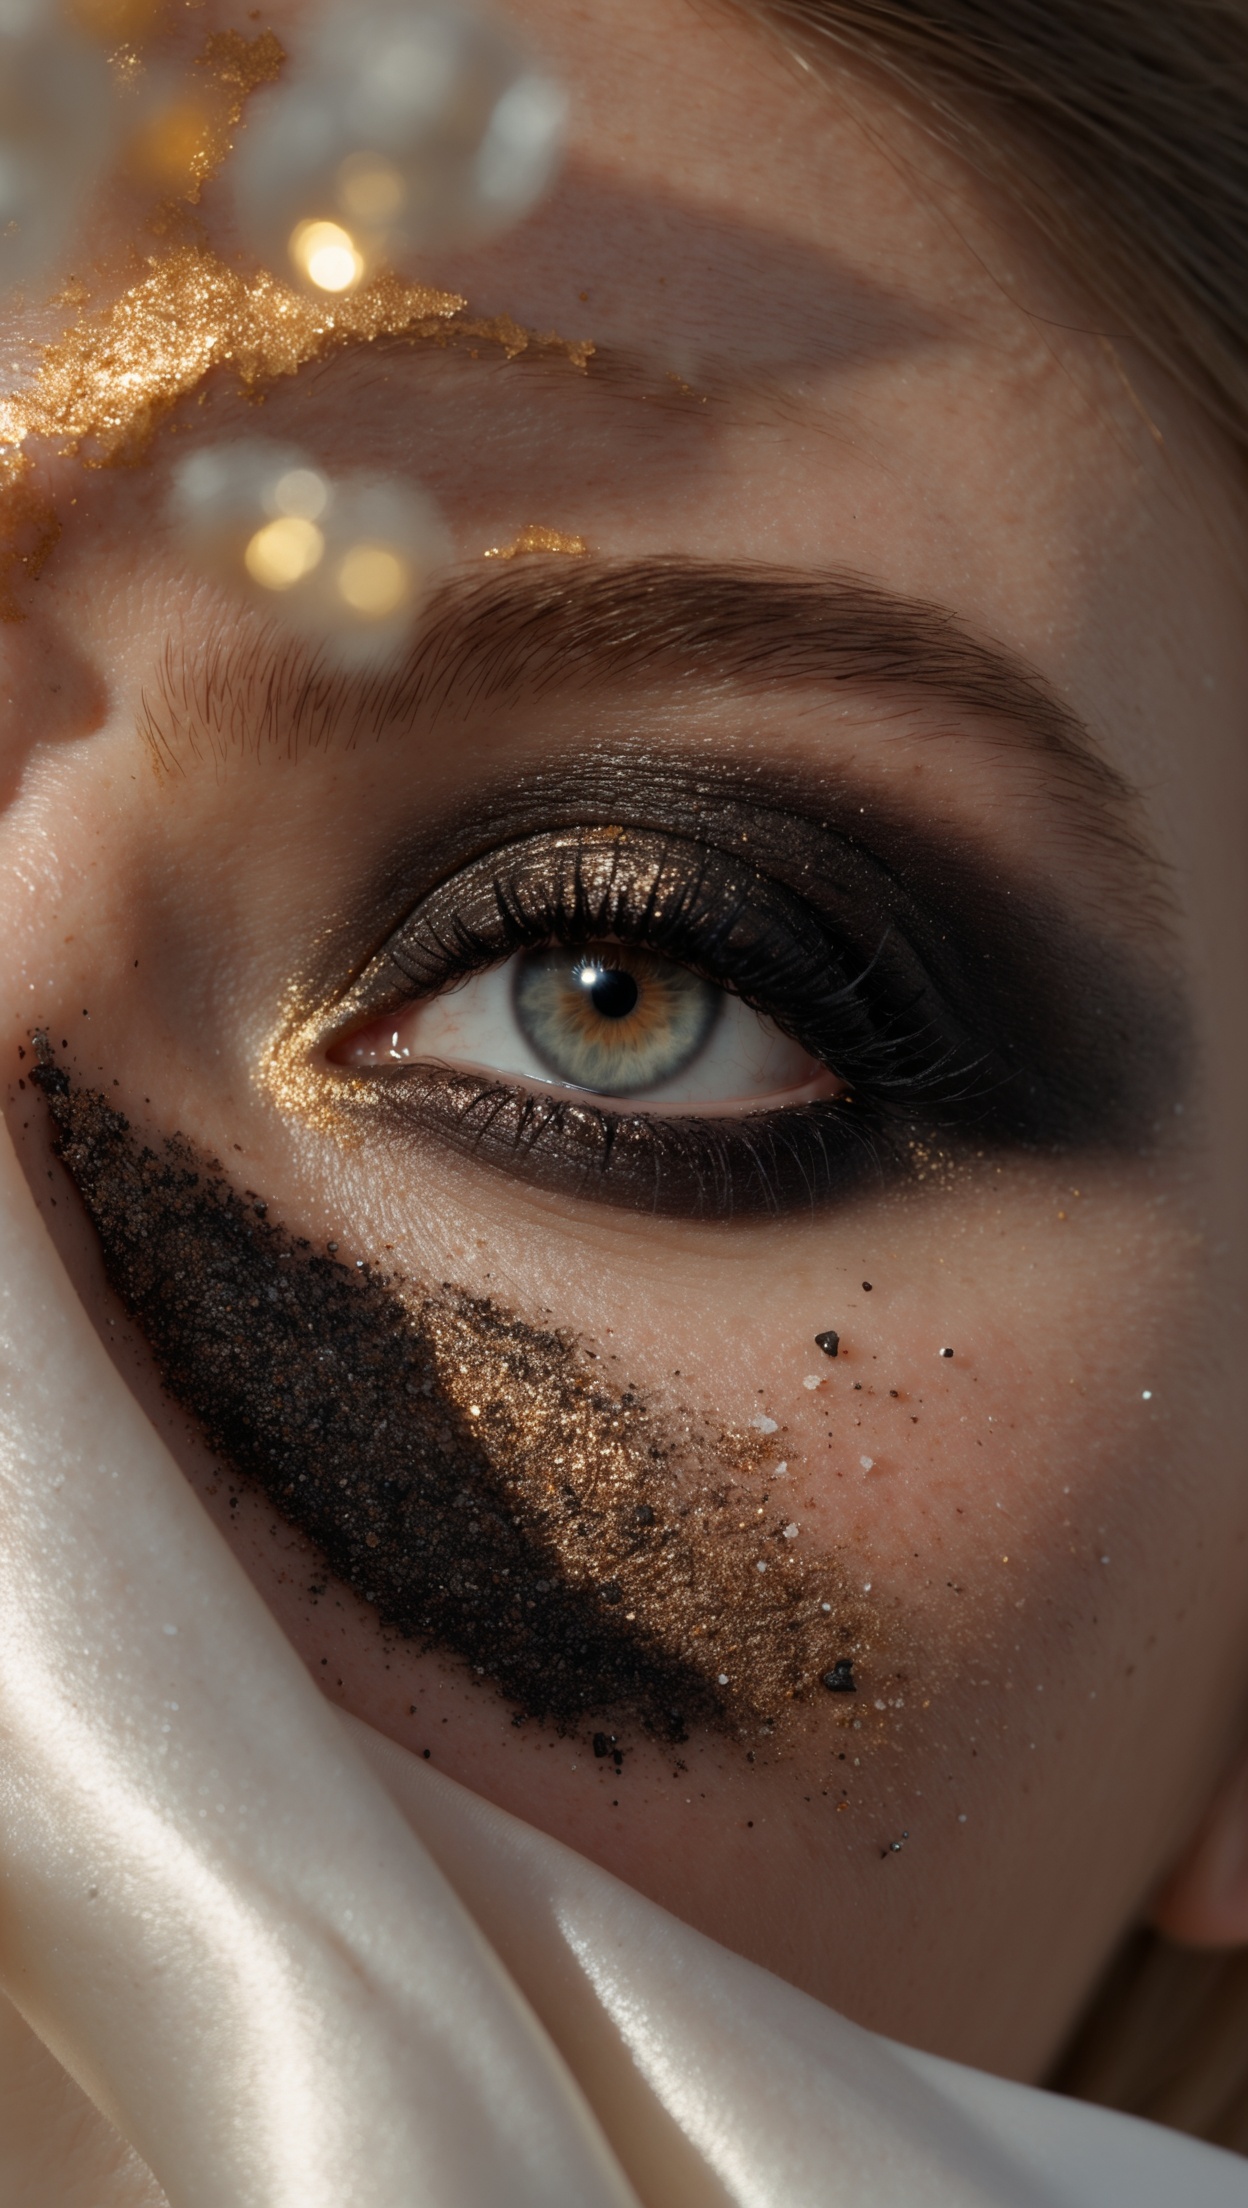
This is where the drama begins! Using your flat shader brush, press the darkest shade — typically black, deep charcoal, dark brown, or navy — onto the outer corner of your lid in a V shape. Then blend it inward across the lid, leaving the inner corner slightly lighter for balance. Use your fluffy brush to soften any harsh edges with gentle circular motions.
Step 5: Blend, Blend, Blend
The secret to a professional smoky eye is seamless blending. Take your clean fluffy brush and work in soft, sweeping motions to melt the shades together. There should be no harsh lines — just a beautifully graduated transition from dark to light. Take your time here; great blending is what separates a beginner look from a polished one.
Step 6: Line Your Eyes
Apply a kohl pencil or eyeliner along your upper and lower lash lines. For a smoky effect, don't worry about precision — a slightly smudged line actually adds to the look. Use a small brush or a cotton bud to gently smudge the liner outward, especially along the lower lash line.
You can also tightline your upper waterline (the inner rim of the upper eyelid) with a black pencil to make your lashes appear fuller and thicker.
Step 7: Add a Pop of Light
Using your finger or a small brush, dab a shimmery highlight shade on the inner corner of your eye and just beneath the brow arch. This brightens the eye, makes it appear larger, and adds a glamorous touch to the overall look.
Step 8: Mascara to Finish
Curl your lashes with an eyelash curler if you have one, then apply two to three coats of mascara to your upper lashes and one light coat to the lower lashes. This frames the smoky eye beautifully and ties the whole look together.
Common Mistakes to Avoid
- Skipping primer: Without a base, your eyeshadow will crease and fade quickly.
- Using too much product at once: Build colour gradually in thin layers — it's much easier to add than to remove.
- Neglecting blending: Harsh lines ruin the smoky effect. Always soften edges with a clean brush.
- Forgetting the lower lash line: Smudging shadow along the bottom lash line completes the look and adds intensity.
- Overdoing the rest of the face: A smoky eye is a statement. Keep your lips neutral and your blush subtle so the eyes remain the focal point.
Choosing the Right Colour for Your Skin Tone
While classic black and grey are universally flattering, don't be afraid to experiment with colour:
- Fair skin: Soft browns, taupes, and navy blue create a stunning contrast.
- Medium skin: Warm bronzes, plums, and olive greens look gorgeous.
- Deep skin: Rich jewel tones like sapphire, emerald, and deep wine make an incredible statement.
Final Thoughts
The smoky eye might look complicated, but with the right technique and a little practice, it becomes one of the most satisfying looks to create. Remember: blending is everything, preparation is key, and confidence makes any makeup look better. Whether you're heading to a night out, a special event, or simply want to glam up your everyday look, the smoky eye is your ultimate go-to.
Explore more expert beauty tutorials, product recommendations, and skincare tips right here at Eclat Beauty — your trusted destination for all things beauty.
Discover the beauty brands we use and recommend: BINU Beauty for premium skincare, Voghion for fashion & beauty finds, and MINOX for luxury high fashion (Moncler, Burberry & more). Some links are affiliate links.