No-Makeup Makeup Look: Your Easy Tutorial

No-Makeup Make-up Look: Dein Tutorial

No-Makeup Makeup Look: Your Easy Tutorial

Image: AI-generated · Bild: KI-generiert

🇬🇧 English

This article contains affiliate links. If you buy through them, we may earn a commission at no extra cost to you.

The No-Makeup Makeup Look: A Complete Tutorial for Effortlessly Glowing Skin

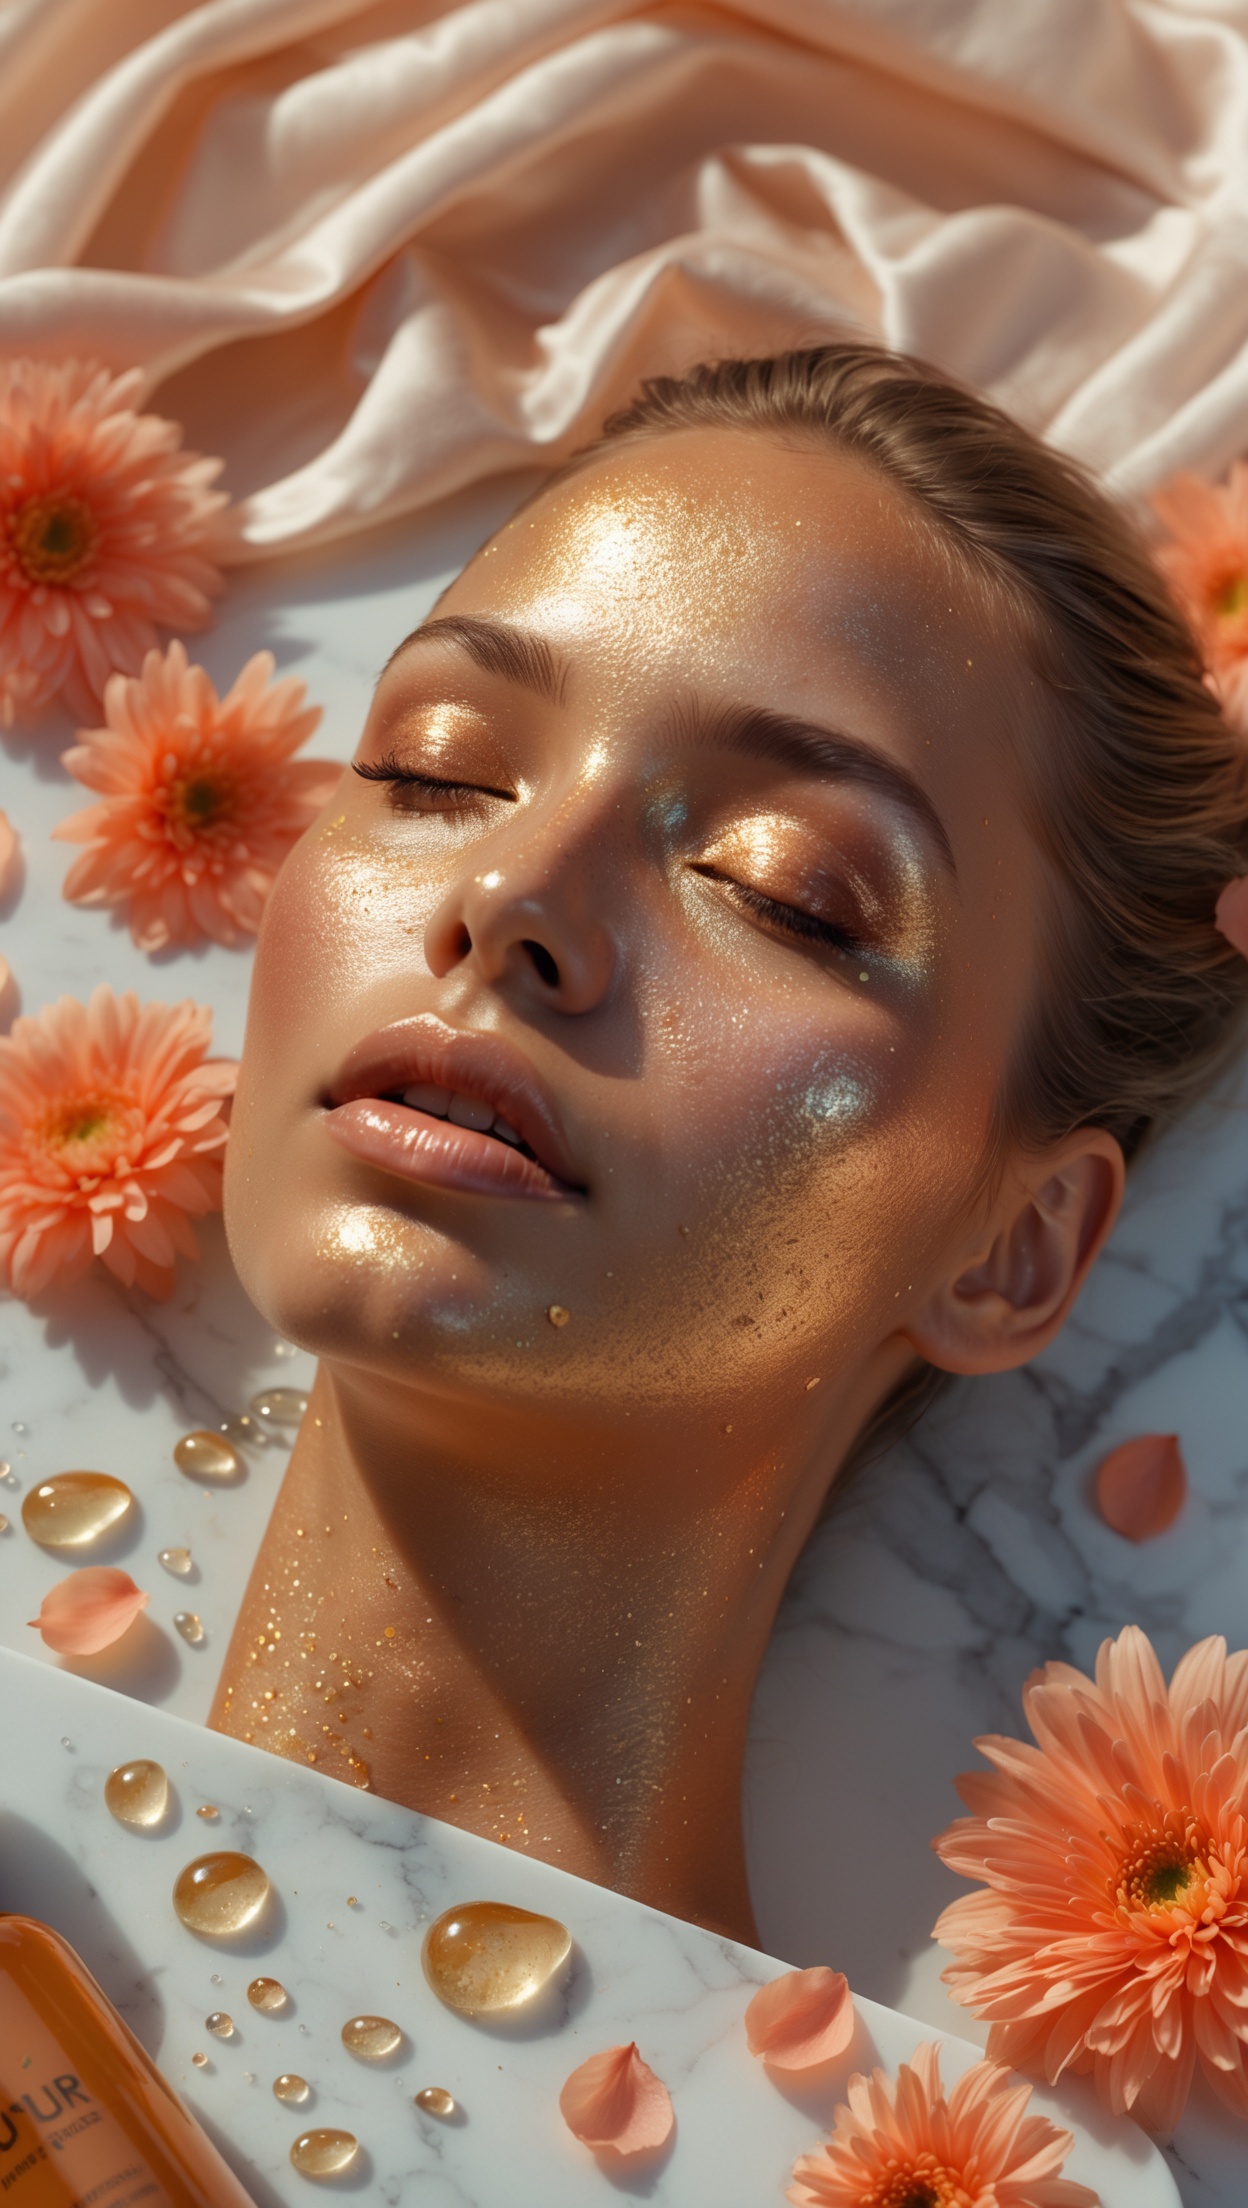
The no-makeup makeup look is one of the most coveted beauty aesthetics of our time. It's the art of looking like your most radiant, polished self — while appearing as though you're wearing absolutely nothing on your face. Think glowing skin, barely-there coverage, defined yet natural brows, and a lip that looks like it's just been kissed. If you've ever wondered how to master this effortlessly chic look, you're in the right place. This tutorial will walk you through every step, from skincare prep to the final finishing touch.

Step 1: Start With a Flawless Skincare Base

The secret to a convincing no-makeup makeup look is exceptional skin. Before you even reach for a product, your skincare routine does the heavy lifting. A well-hydrated, prepped canvas means you'll need far less product — and what you do use will melt seamlessly into the skin.

  • Cleanse: Begin with a gentle, hydrating cleanser to remove any overnight residue or oils without stripping the skin.
  • Tone: Apply a hydrating toner or essence to balance your skin's pH and add the first layer of moisture.
  • Serum: Use a vitamin C or hyaluronic acid serum for brightness and plumping. This is key for that lit-from-within glow.
  • Moisturise: Lock everything in with a lightweight moisturiser suited to your skin type.
  • SPF: Never skip sunscreen. Choose a lightweight, non-white-cast formula that won't interfere with your makeup.

Allow your skincare to absorb fully — ideally for five to ten minutes — before moving on to makeup application. This prevents pilling and ensures a smooth, dewy finish.

Step 2: Colour-Correct and Conceal (Not Cover)

The goal here is not to create a mask of foundation, but to even out your skin tone while letting your natural texture shine through. Skip the heavy full-coverage foundation and opt for something lighter.

Choose a Skin Tint or Tinted Moisturiser

A skin tint or BB cream applied with your fingers provides just enough coverage to unify your complexion. Warm the product between your fingertips and press — don't rub — it into the skin. Focus on areas where you need the most coverage, such as the nose and chin, and leave the rest more sheer for a natural finish.

Spot Concealing

Use a creamy concealer one shade lighter than your skin tone only where needed — under the eyes, on blemishes, or around the nose. Pat gently with your ring finger and blend the edges seamlessly. Avoid dragging or over-blending, which can remove the product entirely.

Step 3: Add a Natural-Looking Glow

This step is what separates a dull base from a truly radiant, healthy-looking complexion. The key is to mimic the way your skin naturally catches the light.

  • Cream blush: Smile gently and apply a sheer peach or rosy cream blush to the apples of your cheeks, blending upward toward the temples. Cream formulas fuse with the skin rather than sitting on top, making them ideal for this look.
  • Subtle highlight: Dab a small amount of liquid or cream highlighter on the high points of your face — the tops of cheekbones, the bridge of the nose, the cupid's bow, and the inner corners of the eyes. Less is always more here.
  • Setting mist: Spritz a hydrating setting spray over your entire face to meld all the products together and give the skin a fresh, just-woken-up dewiness.

Step 4: Define Your Brows Naturally

Well-groomed brows frame the face and add definition without looking overly made up. For the no-makeup look, the goal is to enhance, not draw on.

Use a fine brow pencil or a clear brow gel to tame and shape your natural brow hairs. Fill in any sparse areas with light, hair-like strokes rather than solid lines. Brush through with a spoolie to soften and blend everything for a natural finish. If your brows are already full, a clear gel may be all you need.

Step 5: Curl Your Lashes and Add Mascara (Optional)

Mascara is optional for this look, but a few coats of a lengthening, natural-finish mascara on the upper lashes can open up the eyes beautifully. Curl your lashes first with a lash curler, then apply one to two coats of mascara in a zigzag motion from root to tip. Avoid lower lash application to keep the look fresh and awake rather than dramatic.

If you prefer to skip mascara entirely, a coat of clear mascara or lash-conditioning serum adds a polished, healthy sheen to your lashes without any colour.

Step 6: The Perfect No-Makeup Lip

The lips are where the no-makeup look truly comes together. You want them to look naturally flushed, soft, and barely touched.

  • Lip balm: Start with a nourishing lip balm to hydrate and plump the lips.
  • Lip liner: If desired, use a lip liner in a shade that closely matches your natural lip colour to subtly define the edges and prevent feathering.
  • Tinted lip balm or gloss: Apply a sheer tinted balm or a soft, glossy lip colour in a nude-pink or MLBB (my lips but better) shade. Dab it to the centre of the lips and blend outward for a naturally flushed effect.

Final Tips for Maintaining the Look All Day

The no-makeup makeup look thrives on freshness, so it's important to keep your skin looking dewy throughout the day. Carry a hydrating facial mist to revive your skin and a small amount of cream blush or tinted balm for touch-ups. Avoid powder-heavy products that can dull the skin and break the illusion of bare, glowing skin.

Remember: the goal is not perfection but natural beauty amplified. Lean into your unique features, celebrate your skin's texture, and let your inner radiance do the talking. With the right products and technique, the no-makeup makeup look is one of the most flattering, versatile, and timeless looks you can wear — any day, any occasion.

Your Effortless Glow Awaits

Whether you're heading to the office, running errands, or meeting friends for brunch, the no-makeup makeup look is your go-to for looking polished without effort. Explore the curated range of skin-first beauty products at Éclat Beauty to find everything you need to perfect this look, from skin tints and cream blushes to hydrating mists and nourishing lip balms. Your most radiant self is just a few steps away.

Discover the beauty brands we use and recommend: BINU Beauty for premium skincare, Voghion for fashion & beauty finds, and MINOX for luxury high fashion (Moncler, Burberry & more). Some links are affiliate links.
🇩🇪 Deutsch

Dieser Artikel enthält Affiliate-Links (Werbung). Kaufst du darüber, erhalten wir ggf. eine Provision – für dich ohne Mehrkosten.

Der No-Makeup Make-up Look: Das komplette Tutorial für mühelos strahlende Haut

Der No-Makeup Make-up Look ist eine der begehrtesten Beauty-Ästhetiken unserer Zeit. Es geht darum, wie die strahlendste, gepflegteste Version deiner selbst auszusehen — und dabei so zu wirken, als trägst du absolut nichts im Gesicht. Stell dir leuchtende Haut vor, kaum spürbare Abdeckung, natürlich definierte Brauen und Lippen, die aussehen, als wären sie gerade geküsst worden. Wenn du dich schon immer gefragt hast, wie du diesen mühelos schicken Look meisterst, bist du hier genau richtig. Dieses Tutorial führt dich Schritt für Schritt durch den gesamten Prozess — von der Hautpflege-Vorbereitung bis zum letzten Finish-Touch.

Schritt 1: Die perfekte Hautpflege-Basis schaffen

Das Geheimnis eines überzeugenden No-Makeup Make-up Looks liegt in außergewöhnlicher Haut. Bevor du überhaupt ein Make-up-Produkt greifst, übernimmt deine Hautpflegeroutine die Hauptarbeit. Eine gut hydratisierte, vorbereitete Basis bedeutet, dass du weit weniger Produkt benötigst — und das, was du verwendest, nahtlos in die Haut verschmilzt.

  • Reinigen: Beginne mit einem sanften, feuchtigkeitsspendenden Reiniger, der Übernachtrückstände oder Öle entfernt, ohne die Haut auszutrocknen.
  • Tonisieren: Trage ein feuchtigkeitsspendendes Tonic oder eine Essenz auf, um den pH-Wert der Haut auszugleichen und die erste Feuchtigkeitsschicht hinzuzufügen.
  • Serum: Verwende ein Vitamin-C- oder Hyaluronsäure-Serum für Strahlkraft und Fülle. Dies ist entscheidend für den Glow von innen heraus.
  • Feuchtigkeitspflege: Schließe alles mit einer leichten Feuchtigkeitscreme ab, die zu deinem Hauttyp passt.
  • LSF: Überspringe niemals Sonnenschutz. Wähle eine leichte Formel ohne Weißfilm, die dein Make-up nicht beeinträchtigt.

Lasse deine Hautpflege vollständig einziehen — idealerweise fünf bis zehn Minuten — bevor du mit dem Make-up anfängst. Das verhindert das Zusammenballen der Produkte und sorgt für ein glattes, taufrisches Finish.

Schritt 2: Farbkorrektur und Kaschieren (nicht Überdecken)

Das Ziel ist nicht, eine Maske aus Foundation zu erzeugen, sondern deinen Teint zu vereinheitlichen, während deine natürliche Textur zum Vorschein kommt. Verzichte auf schwere Volldeckungs-Foundations und wähle stattdessen etwas Leichteres.

Skin Tint oder getönte Feuchtigkeitscreme wählen

Ein Skin Tint oder eine BB-Cream, aufgetragen mit den Fingern, bietet gerade genug Abdeckung, um den Teint zu vereinheitlichen. Erwärme das Produkt zwischen deinen Fingerspitzen und drücke es — nicht reibe es — in die Haut. Konzentriere dich auf Bereiche, die mehr Abdeckung benötigen, wie Nase und Kinn, und lasse den Rest sheer für ein natürliches Finish.

Gezieltes Kaschieren

Verwende einen cremigen Concealer eine Nuance heller als dein Hautton nur dort, wo es nötig ist — unter den Augen, auf Unreinheiten oder um die Nase. Tupfe ihn sanft mit dem Ringfinger auf und verwische die Ränder nahtlos. Vermeide Ziehen oder übermäßiges Verblenden, da dies das Produkt vollständig entfernen kann.

Schritt 3: Einen natürlich wirkenden Glow hinzufügen

Dieser Schritt unterscheidet einen matten Teint von einem wirklich strahlenden, gesund aussehenden Hautbild. Der Schlüssel liegt darin, nachzuahmen, wie deine Haut das Licht auf natürliche Weise einfängt.

  • Creme-Blush: Lächle sanft und trage einen transparenten Pfirsich- oder Rosé-Creme-Blush auf die Wangenäpfel auf, verblende ihn nach oben in Richtung Schläfen. Creme-Formeln verschmelzen mit der Haut, anstatt auf ihr zu sitzen — ideal für diesen Look.
  • Subtiler Highlighter: Tupfe eine kleine Menge flüssigen oder cremigen Highlighter auf die hohen Punkte deines Gesichts — Wangenknochenkuppen, Nasenrücken, den Amorbogen und die inneren Augenwinkel. Hier gilt: weniger ist immer mehr.
  • Setting-Spray: Versprühe ein feuchtigkeitsspendendes Setting-Spray über das gesamte Gesicht, um alle Produkte miteinander zu verbinden und der Haut eine frische, gerade-aufgewachte Tauigkeit zu verleihen.

Schritt 4: Brauen natürlich definieren

Gepflegte Brauen rahmen das Gesicht ein und fügen Definition hinzu, ohne übermäßig gestylt zu wirken. Beim No-Makeup Look ist das Ziel, zu betonen, nicht aufzuzeichnen.

Verwende einen feinen Brauenstift oder ein klares Brauengel, um deine natürlichen Brauenhaare zu zähmen und zu formen. Fülle spärliche Bereiche mit leichten, haarähnlichen Strichen statt massiven Linien auf. Bürste anschließend mit einem Spoolie durch, um alles aufzuweichen und zu blenden. Wenn deine Brauen bereits voll sind, reicht möglicherweise ein klares Gel.

Schritt 5: Wimpern locken und Mascara auftragen (optional)

Mascara ist für diesen Look optional, aber ein paar Schichten einer verlängernden Mascara mit natürlichem Finish auf den oberen Wimpern können die Augen wunderschön öffnen. Locke zunächst deine Wimpern mit einem Wimpernzangenkurler, dann trage ein bis zwei Schichten Mascara in einer Zickzackbewegung von der Wurzel bis zur Spitze auf. Verzichte auf das Auftragen an den unteren Wimpern, damit der Look frisch und wach statt dramatisch wirkt.

Wenn du Mascara ganz überspringen möchtest, verleiht eine Schicht klare Mascara oder ein Wimpernpflegeserum deinen Wimpern einen polierten, gesunden Glanz ohne jede Farbe.

Schritt 6: Die perfekten No-Makeup Lippen

Die Lippen sind der Punkt, an dem der No-Makeup Look wirklich zusammenkommt. Du möchtest, dass sie natürlich gerötet, weich und kaum berührt aussehen.

  • Lippenbalsam: Beginne mit einem nährenden Lippenbalsam, um die Lippen zu hydratisieren und zu polstern.
  • Lippenkonturenstift: Verwende bei Bedarf einen Lipliner in einem Ton, der deiner natürlichen Lippenfarbe nahekommt, um die Konturen subtil zu definieren.
  • Getönter Lippenbalsam oder Gloss: Trage einen sheer getönten Balsam oder einen weichen, glänzenden Lippenstift in einem Nude-Rosa- oder MLBB-Ton (My Lips But Better) auf. Tupfe ihn in die Mitte der Lippen und verwische ihn nach außen für einen natürlich geröteten Effekt.

Abschließende Tipps, um den Look den ganzen Tag zu erhalten

Der No-Makeup Make-up Look lebt von Frische, daher ist es wichtig, dass deine Haut den ganzen Tag taufrisch aussieht. Trage ein feuchtigkeitsspendendes Gesichtsspray mit dir, um deine Haut aufzufrischen, sowie eine kleine Menge Creme-Blush oder getönten Balsam für Auffrischungen. Vermeide puderreiche Produkte, die die Haut stumpf machen und die Illusion nackter, strahlender Haut zerstören können.

Denke daran: Das Ziel ist nicht Perfektion, sondern natürliche Schönheit verstärkt. Umarme deine einzigartigen Züge, feiere die Textur deiner Haut und lass deine innere Strahlkraft sprechen. Mit den richtigen Produkten und der richtigen Technik ist der No-Makeup Make-up Look einer der schmeichelhaftesten, vi

Entdecke die Beauty-Brands, die wir selbst nutzen und empfehlen: BINU Beauty für Premium-Hautpflege, Voghion für Fashion & Beauty, und MINOX für Luxus-High-Fashion (Moncler, Burberry & mehr). Einige Links sind Affiliate-Links.