This article contains affiliate links. If you buy through them, we may earn a commission at no extra cost to you.
Contouring Tutorial for Different Face Shapes
Contouring is one of the most powerful makeup techniques in your beauty arsenal. When done correctly, it can sculpt your features, define your bone structure, and give your complexion a naturally radiant dimension. The secret? Knowing your face shape and applying shadow and highlight accordingly. Whether you are a contouring beginner or looking to refine your technique, this guide will walk you through everything you need to know.
Why Face Shape Matters in Contouring
Not all contouring maps are created equal. A technique that slims a round face might over-sharpen a square one, and what beautifully lifts a heart-shaped face could look off on an oblong shape. Understanding your unique facial structure is the foundation of flawless contouring. Before picking up your brush, take a moment to identify your face shape in a mirror — pull your hair back and trace the outline.
How to Identify Your Face Shape
- Oval: Forehead is slightly wider than the jaw; face is longer than wide.
- Round: Face is roughly as wide as it is long; soft, curved jawline.
- Square: Forehead, cheekbones, and jaw are roughly equal in width; strong angular jaw.
- Heart: Wide forehead, high cheekbones, narrow and pointed chin.
- Oblong/Rectangle: Face is noticeably longer than wide, with a straight jawline.
- Diamond: Narrow forehead and jaw, wide cheekbones.
Essential Contouring Products
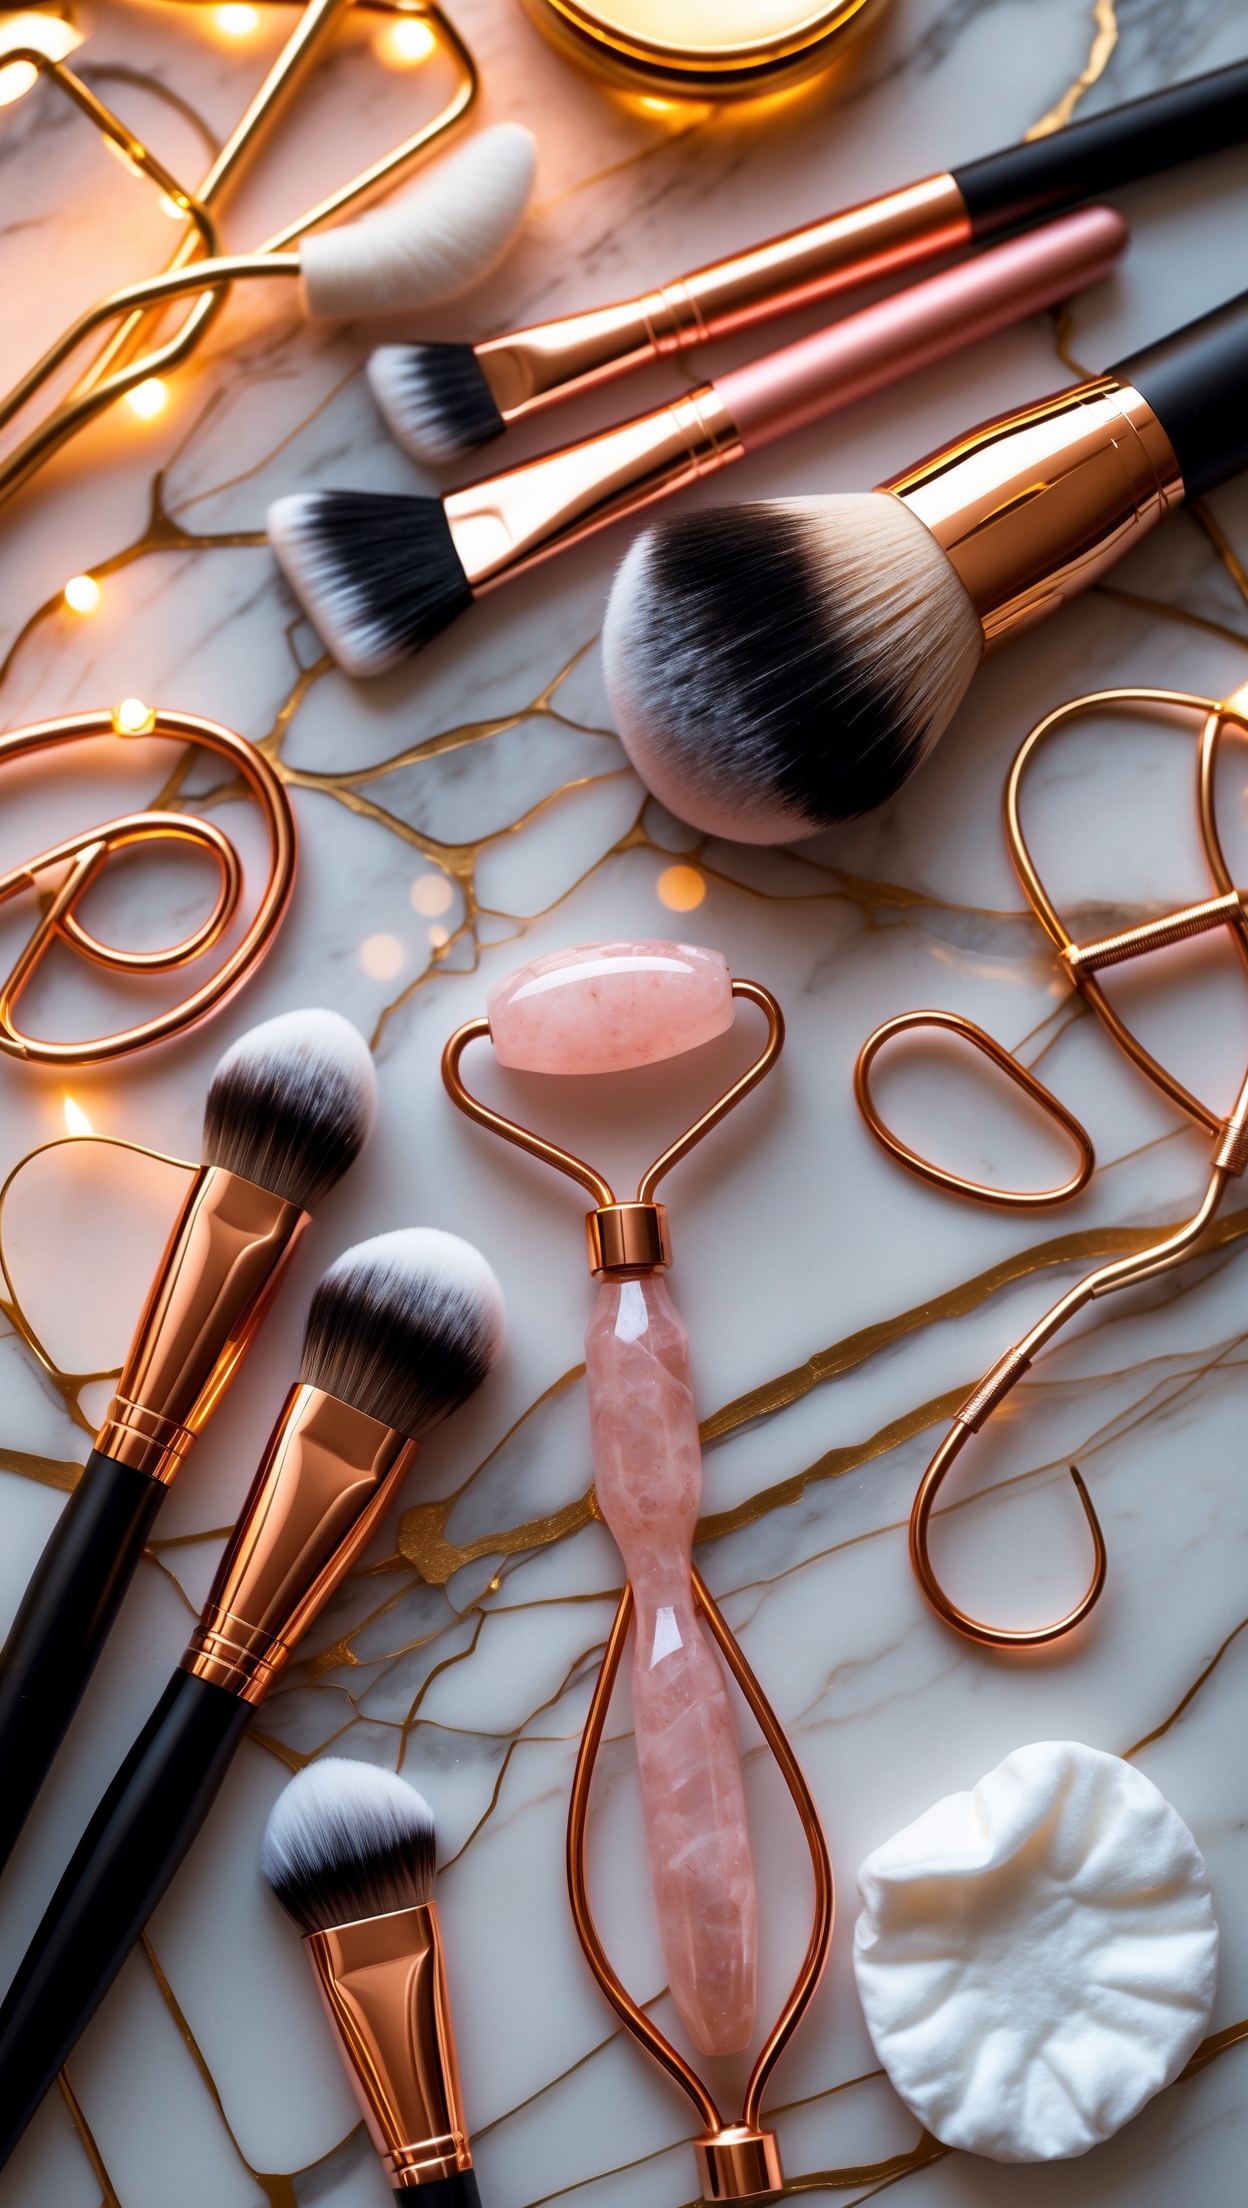
Before diving into tutorials, make sure you have the right tools. You will need:
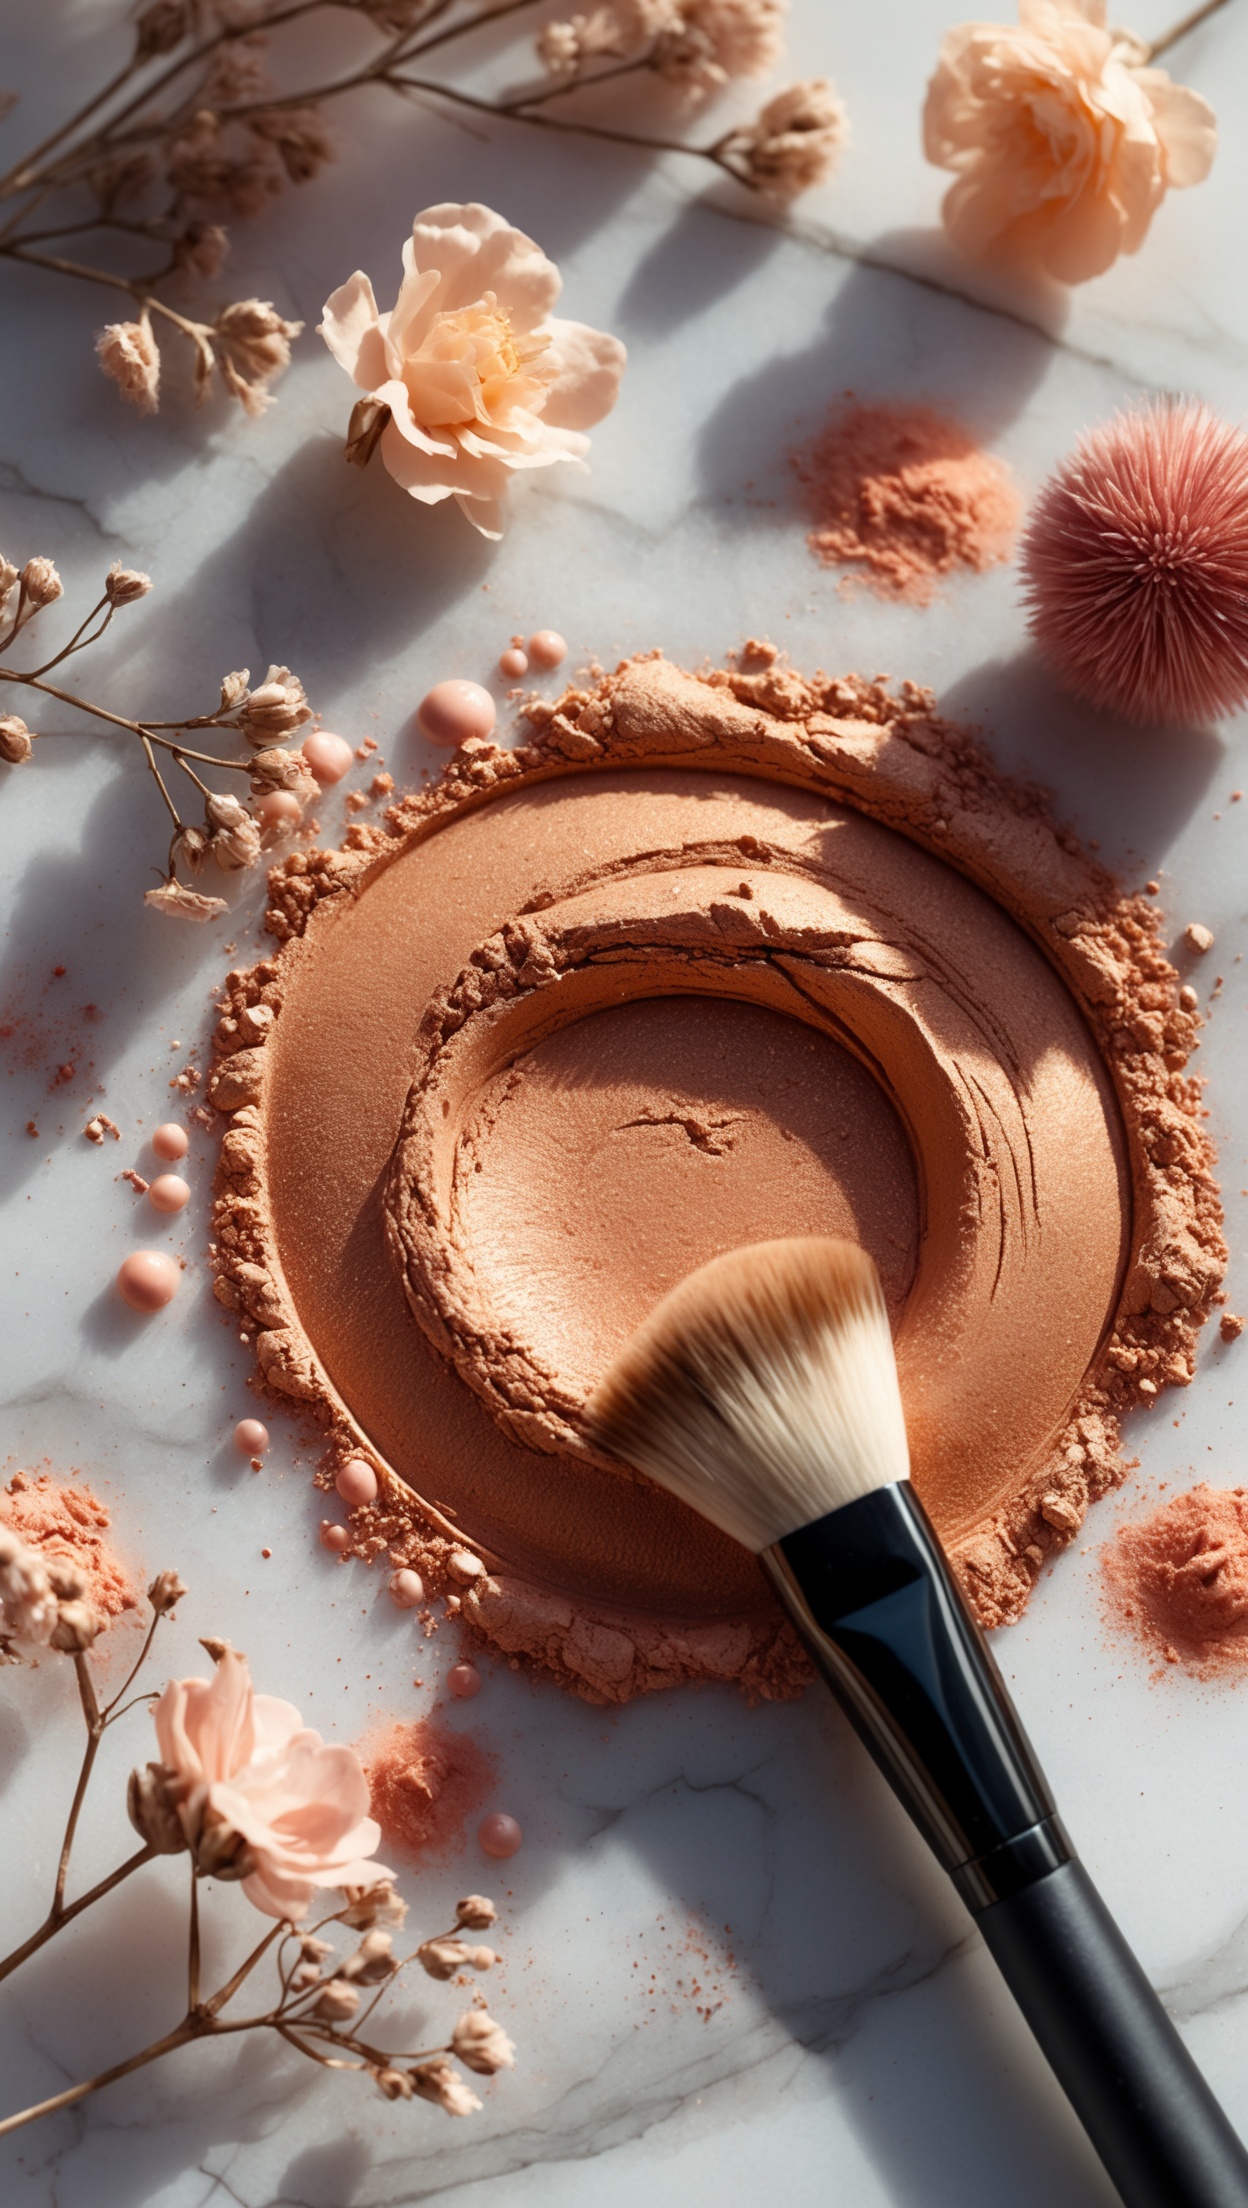
- A matte contour powder or cream two shades darker than your skin tone
- A highlighter one to two shades lighter than your skin tone
- A fluffy contour brush for powder or a damp beauty sponge for cream
- A fan brush for blending highlights
- A setting powder to lock everything in place
Contouring for an Oval Face Shape
Congratulations — the oval face is considered the most balanced shape, so your contouring goal is simply to enhance what you already have without over-sculpting.
Where to apply contour:
- Lightly along the hollows of your cheekbones
- A soft sweep along the temples
- A touch along the jawline for subtle definition
Where to highlight:
- The high points of your cheekbones
- The bridge of the nose and brow bone
- The centre of the forehead and chin
Pro tip: Less is more for oval faces. Blend thoroughly and opt for a light hand.
Contouring for a Round Face Shape
The goal for round faces is to add length and definition, making the face appear slimmer and more structured.
Where to apply contour:
- Along the sides of the forehead near the hairline
- Deeply into the hollows of the cheekbones, angled upward toward the temples
- Along the jawline and beneath the chin
Where to highlight:
- Down the centre of the forehead
- The bridge and tip of the nose (to elongate)
- The centre of the chin
Pro tip: Avoid applying blush too round or too low — sweep it diagonally toward the temples to lift the face visually.
Contouring for a Square Face Shape
Square faces have strong, angular features that you can either soften or accentuate depending on your preference. Most contouring maps for this shape focus on softening the corners.
Where to apply contour:
- Along the corners of the forehead (to round it slightly)
- The sides of the face from temples to jaw
- The corners of the jawline to soften the square edges
Where to highlight:
- The centre of the forehead
- The high points of the cheekbones
- The centre of the chin
Pro tip: Blend contour in circular, soft motions at the jaw corners — hard lines will only emphasise the angles.
Contouring for a Heart Face Shape
Heart-shaped faces have a wider upper half and a narrow chin. The goal is to balance the forehead and add width to the lower face.
Where to apply contour:
- Along the temples and sides of the forehead to minimise width
- Lightly under the cheekbones
Where to highlight:
- The chin and jawline to add width
- The centre of the forehead (sparingly)
- The high cheekbones
Pro tip: A soft highlight on the sides of the chin can visually widen the lower face and create beautiful balance.
Contouring for an Oblong or Rectangle Face Shape
Oblong faces are longer than wide, so your mission is to add width and reduce length.
Where to apply contour:
- Along the hairline at the top of the forehead
- Along the chin to visually shorten the face
Where to highlight:
- The sides of the face at cheekbone level (to add width)
- The centre of the face vertically
Pro tip: Avoid contouring down the sides of the nose — this elongates the face further. Instead, keep nose contouring minimal.
Contouring for a Diamond Face Shape
Diamond faces have strikingly wide cheekbones with narrow foreheads and chins. The goal is to add width at the top and bottom while softening the cheekbone width.
Where to apply contour:
- Directly beneath the cheekbones to reduce their prominence
Where to highlight:
- The temples and forehead to add width at the top
- The sides of the chin to add width at the bottom
Final Blending Tips for Flawless Contouring
No matter your face shape, blending is the most crucial step. Harsh lines are the number one contouring mistake. Use a clean brush or sponge to blend all edges in light, circular strokes until there are no visible lines. Always apply contour with a light hand — you can build intensity, but it is much harder to remove excess product.
Set your contour with a translucent setting powder to ensure longevity, and finish with a dusting of highlight on the highest points for a luminous, sculpted look that lasts all day.
Discover Your Best Look with Eclat Beauty
At Eclat Beauty, we believe every face shape deserves to be celebrated and enhanced with the right techniques and products. Whether you are a contouring novice or a seasoned makeup lover, mastering this skill will elevate your entire beauty routine. Explore our curated range of contouring and highlighting essentials and find the perfect match for your unique complexion.
Discover the beauty brands we use and recommend: BINU Beauty for premium skincare, Voghion for fashion & beauty finds, and MINOX for luxury high fashion (Moncler, Burberry & more). Some links are affiliate links.